


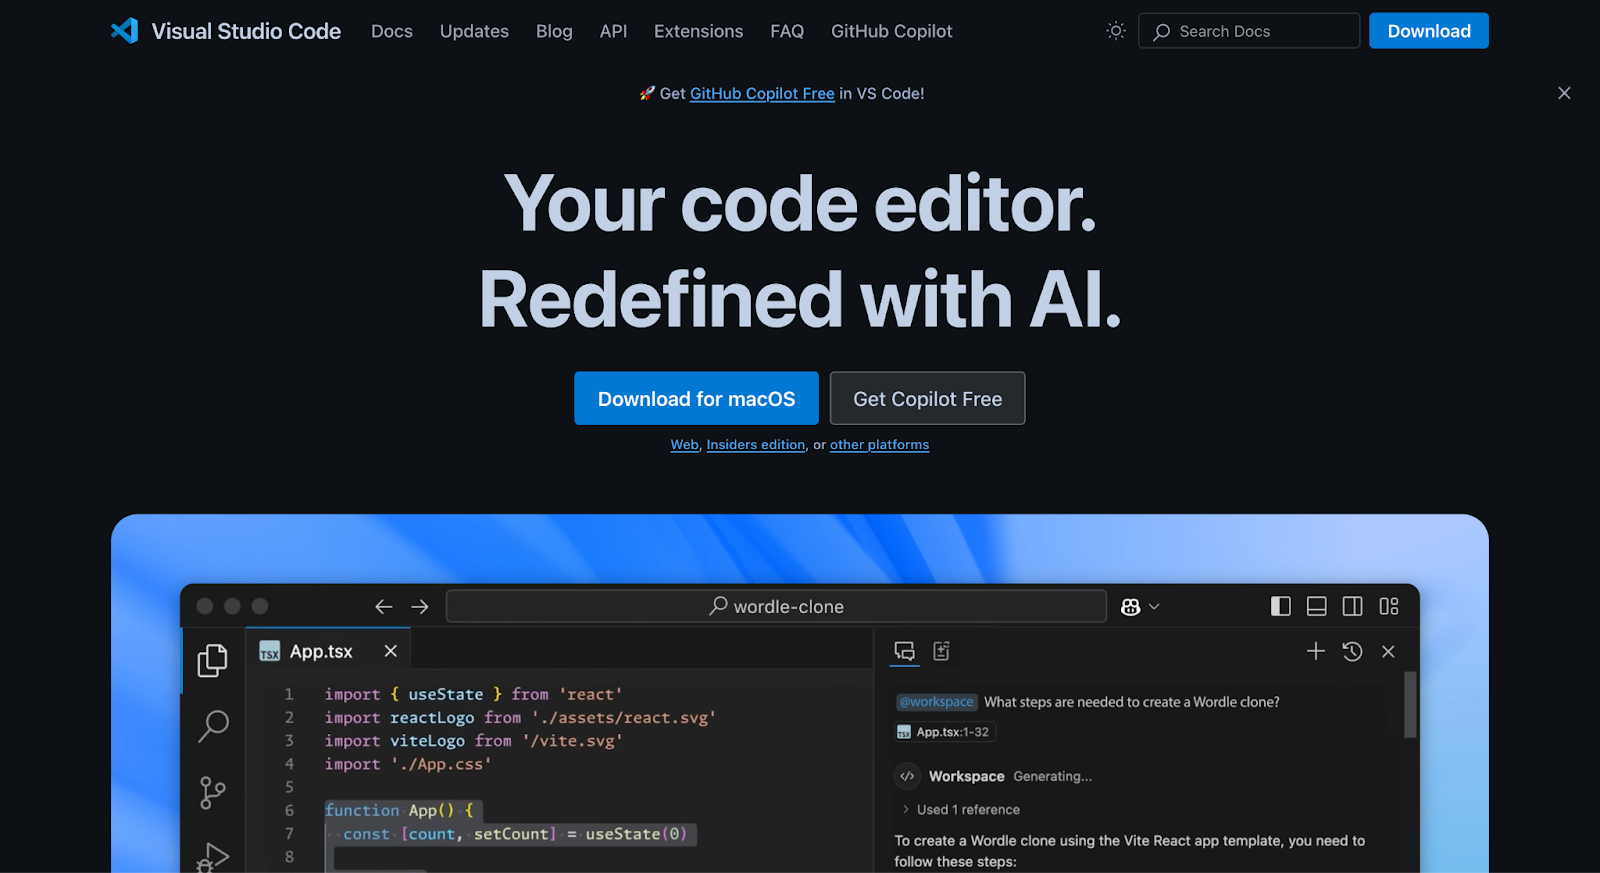
Visual Studio Code (VSCode) is a lightweight but powerful source code editor that runs on your desktop. It comes with built-in support for JavaScript, TypeScript, and Node.js and has a rich ecosystem of extensions for other languages and tools.
Table of Contents
- Installation
- First Launch and Interface Overview
- Essential Settings
- Extensions
- Workspace Setup
- Keyboard Shortcuts
- Integrated Terminal
- Source Control Integration
- Debugging
- Additional Resources
Installation
Windows
- Visit the VSCode download page
- Click on the Windows download button
- Run the installer (.exe file)
- Follow the installation wizard
- Check the options to:
- Create a desktop icon
- Add “Open with Code” to Windows Explorer context menu
- Register Code as an editor for supported file types
macOS
- Visit the VSCode download page
- Click on the Mac download button
- Open the downloaded .zip file
- Drag Visual Studio Code.app to the Applications folder
- Optional: Add VSCode to your Dock
Linux
- Visit the VSCode download page
- Choose the appropriate package for your distribution (.deb, .rpm, etc.)
- For Debian/Ubuntu:

- For Red Hat/Fedora:

First Launch and Interface Overview
When you first open VSCode, you’ll see:
- Welcome Page: Contains quick links to common commands and recent projects
- Activity Bar: Left sidebar with icons for different views:
- Explorer: File browser
- Search: Find and replace
- Source Control: Git integration
- Run and Debug: Debug panel
- Extensions: Manage extensions
- Status Bar: Bottom bar showing information about the current file and editor
- Editor Area: Main coding area (can be split into multiple editors)
- Panel: Bottom panel that can show terminal, output, problems, etc.
Essential Settings
Access settings by:
- Windows/Linux: File > Preferences > Settings
- macOS: Code > Preferences > Settings
Recommended settings to consider:
- Theme:
- File > Preferences > Color Theme (or Ctrl+K Ctrl+T)
- Popular choices: Dark+, Light+, Monokai, Solarized
- Font:

- Auto Save:

- Tab Size:

- Formatting:

Extensions
VSCode’s power comes from its extensions. To install extensions:
- Click the Extensions icon in the Activity Bar (or press Ctrl+Shift+X)
- Search for extensions by name
- Click Install

Essential extensions by category:
General
- Prettier – Code formatter: Consistent code formatting
- ESLint: JavaScript linting
- EditorConfig: Maintain consistent coding styles

Languages
- Python: Full Python support

- C/C++: C and C++ intellisense, debugging

- Java Extension Pack: Java development tools
- JavaScript (ES6) code snippets: Snippets for JavaScript

Themes
- Material Theme: Popular theme pack

- One Dark Pro: Atom’s iconic theme

Productivity
- GitLens: Supercharge Git capabilities

- Live Share: Collaborative editing

- Path Intellisense: Autocomplete filenames

Workspace Setup
A workspace in VSCode represents one or more folders that are opened in an editor window.
- Open a folder: File > Open Folder (Ctrl+K Ctrl+O)
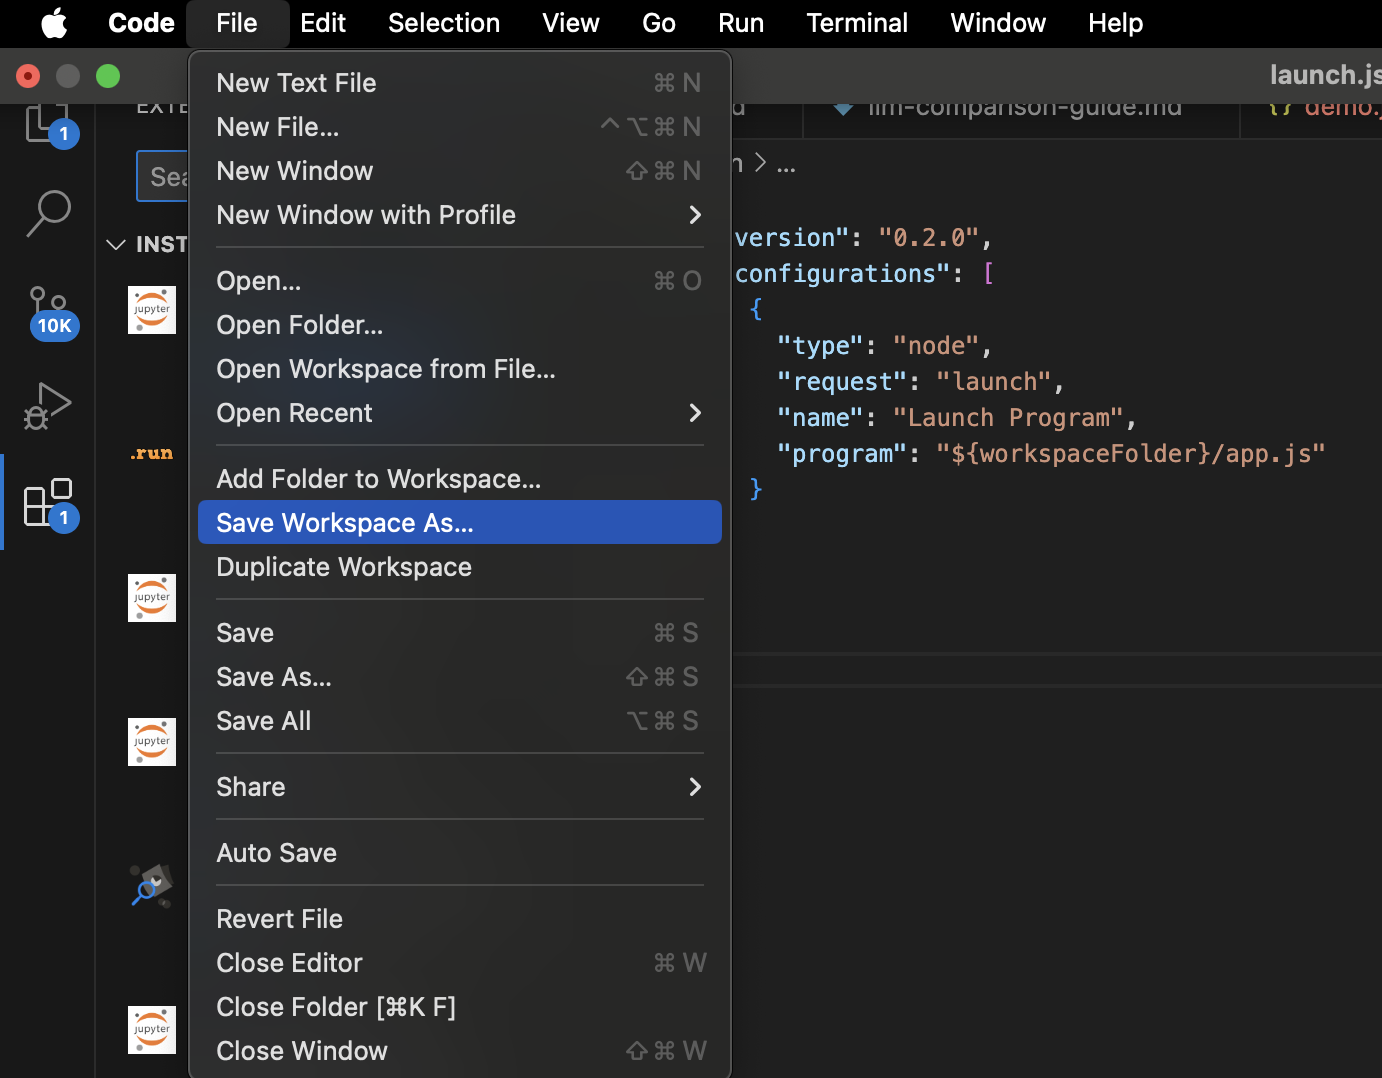
- Save workspace: File > Save Workspace As…
- Workspace settings: Create a .vscode folder in your project with:
- settings.json: Project-specific settings
- launch.json: Debugging configurations
- tasks.json: Build task configurations
- extensions.json: Recommended extensions
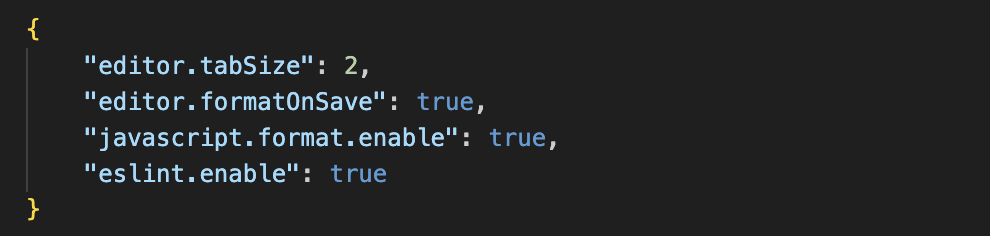
Example settings.json for a JavaScript project:
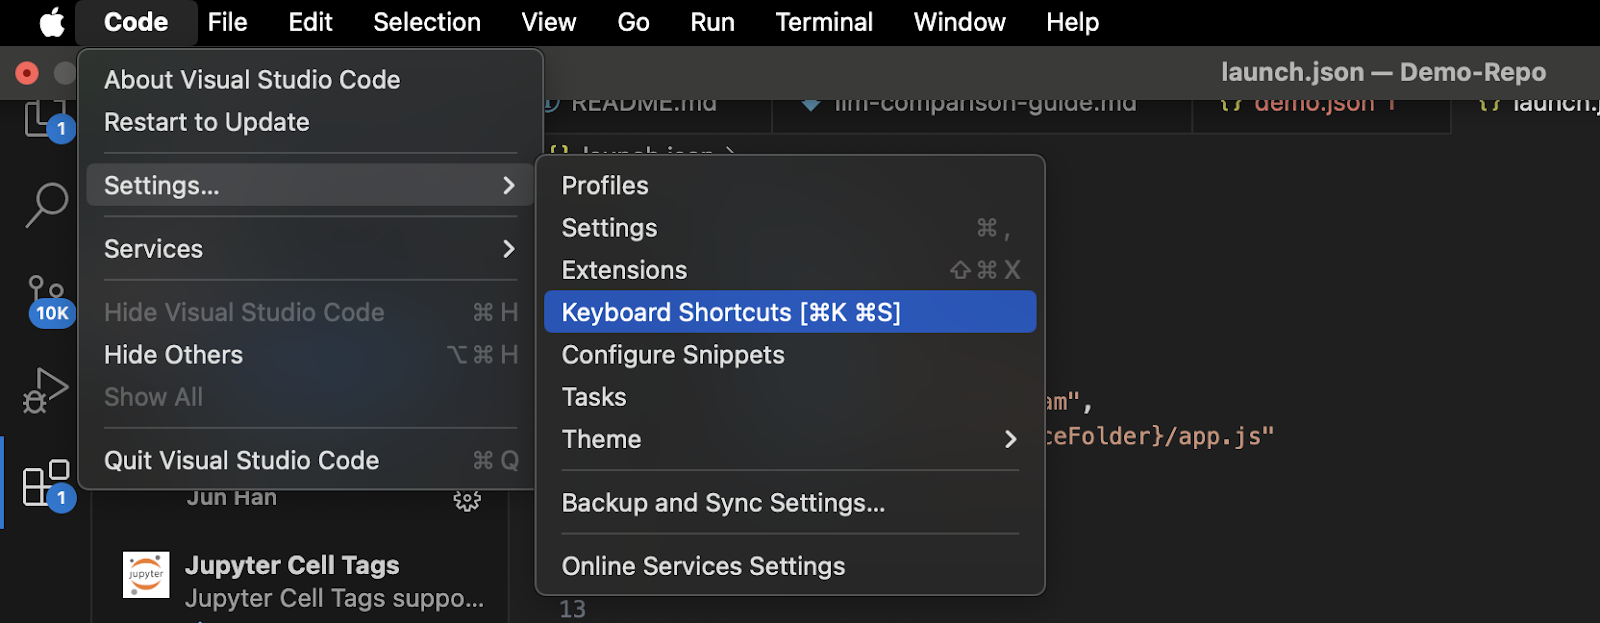
Keyboard Shortcuts
VSCode has many keyboard shortcuts. Here are the most essential ones:
- Ctrl+P: Quick Open, Go to File
- Ctrl+Shift+P: Show Command Palette
- Ctrl+Space: Trigger suggestion
- F12: Go to Definition
- Alt+F12: Peek Definition
- Shift+Alt+F: Format document
- F5: Start debugging
- Ctrl+`: Toggle terminal
- Ctrl+B: Toggle sidebar
- Ctrl+/: Toggle line comment
- Ctrl+K Ctrl+C: Add line comment
- Ctrl+K Ctrl+U: Remove line comment
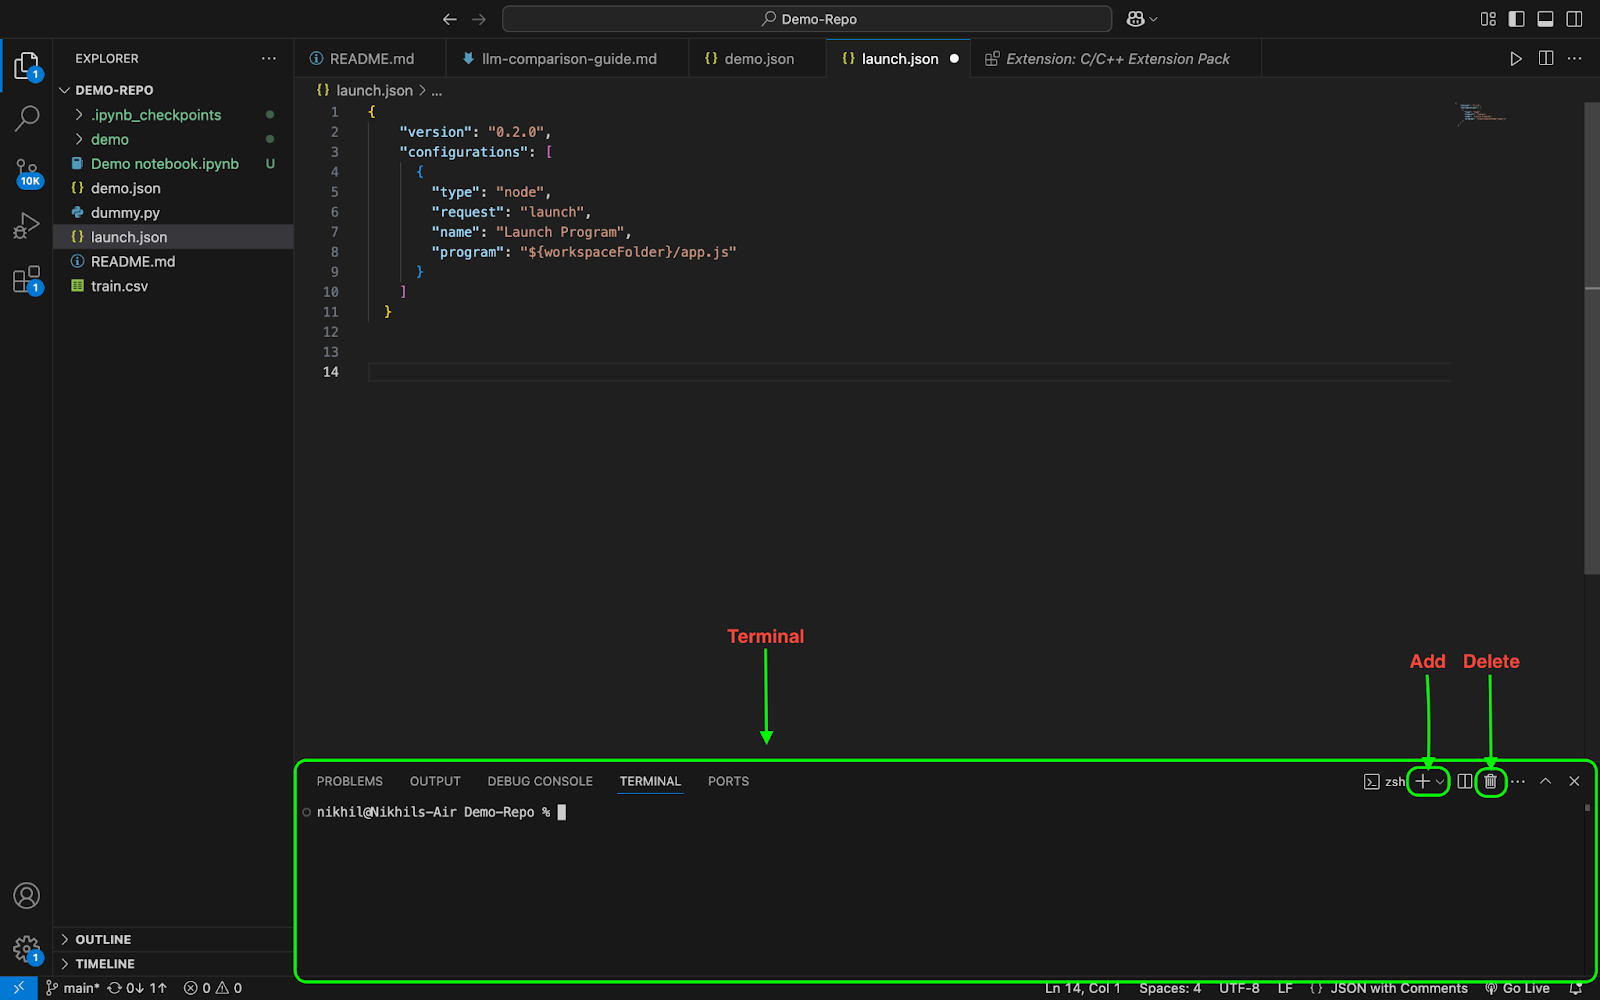
Integrated Terminal
VSCode includes an integrated terminal:
- Open terminal: View > Terminal
- Multiple terminals: Click the plus icon
- Switch terminals: Use the dropdown
Source Control Integration
VSCode has built-in Git support:
- Initialize repository: Click the Source Control icon and “Initialize Repository”
- Stage changes: Click the + next to modified files
- Commit changes: Enter a message and press Ctrl+Enter
- Push/Pull: Use the ellipsis menu (…) for additional Git commands
- Visual diff: Click on a modified file to see changes
Debugging
Set up debugging for your project:
- Create a launch configuration:
- Click the Run and Debug icon
- Click “create a launch.json file”
- Select your environment
- Set breakpoints: Click in the gutter next to line numbers
- Start debugging: Press F5
- Use debug controls: Continue, Step Over, Step Into, Step Out
- Watch variables: Add expressions to the Watch panel

Additional Resources
Nikhil is an intern consultant at Marktechpost. He is pursuing an integrated dual degree in Materials at the Indian Institute of Technology, Kharagpur. Nikhil is an AI/ML enthusiast who is always researching applications in fields like biomaterials and biomedical science. With a strong background in Material Science, he is exploring new advancements and creating opportunities to contribute.


Leave a comment